Source Control
VUEngine Studio has integrated source control management (SCM) and includes Git support out-of-the-box. Many other source control providers are available through extensions on the Open VSX Registry.
# Initialize a repository
If you haven’t opened a workspace yet, the Source Control view will show “No repository found”. Create a Git repository with the Git: Initialize Repository command from the Command Palette Ctrl+Shift+P. Running Initialize Repository will create the necessary Git repository metadata files and show your workspace files as untracked changes ready to be staged.
# Cloning a repository
To instead clone an existing repository, use the Git: Clone command. You will be asked for the URL of the remote repository and the parent directory under which to put the local repository. For e.g. a GitHub repository, you would find the URL from the GitHub Code dialog. You would then paste that URL into the prompt.

# Working in a Git repository
Tip: Just getting started with Git? The git-scm website is a good place to start, with a popular online book, Getting Started videos and cheat sheets. This documentation assumes you are already familiar with Git.
Note: Make sure Git is installed. VUEngine Studio will use your machine’s Git installation (at least version 2.0.0), so you need to install Git first before you get these features.
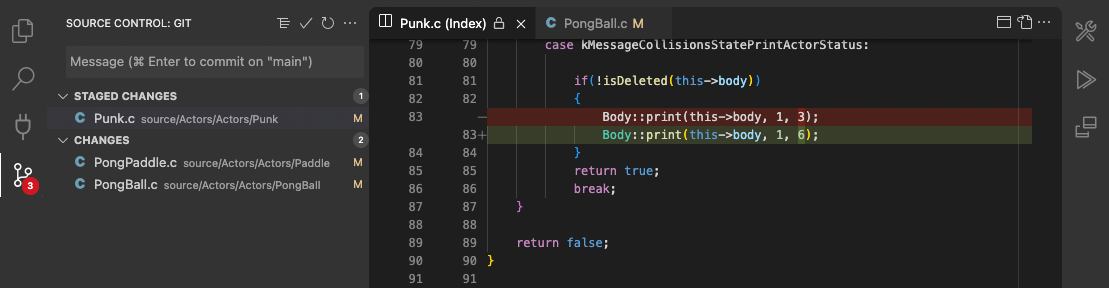
The Source Control icon in the Activity Bar on the left will always indicate an overview of how many changes you currently have in your repository. Selecting the icon will show you the details of your current repository changes: CHANGES, STAGED CHANGES and MERGE CHANGES.
Clicking each item will show you in detail the textual changes within each file. Note that for unstaged changes, the editor on the right still lets you edit the file: feel free to use it!
You can also find indicators of the status of your repository in the bottom-left corner of VUEngine Studio’s status bar: the current branch, dirty indicators, and the number of incoming and outgoing commits of the current branch. You can checkout any branch in your repository by clicking that status indicator and selecting the Git reference from the list.
# Commit
Staging (git add) and unstaging (git reset) can be done via contextual actions in the files or by drag-and-drop.
Configure your Git username and email. When you commit, be aware that if your username and/or email is not set in your Git configuration, Git will fall back to using information from your local machine. You can find the details in Git commit information.
You can type a commit message above the changes and press Ctrl+Enter to commit them. If there are any staged changes, only those changes will be committed. Otherwise, you’ll get a prompt asking you to select what changes you’d like to commit and get the option to change your commit settings.
We’ve found this to be a great workflow. For example, in the earlier screenshot, only the staged changes to Punk.c will be included in the commit. Later staging and commit actions could include the changes to PongPaddle.c and PongBall.c as a separate commit.
More specific Commit actions can be found in the More Actions ... menu on the top of the Source Control view.
Tip: If you commit your change to the wrong branch, undo your commit using the Git: Undo Last Commit command in the Command Palette Ctrl+Shift+P.
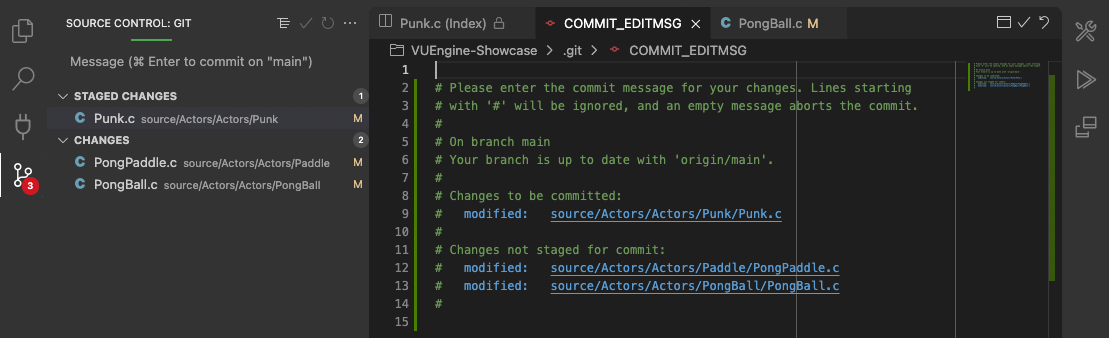
# Author commit messages using an editor
If you don’t enter a commit message when commiting changes, VUEngine Studio opens an editor for the COMMIT_EDITMSG file where you can author the commit message in the editor. After you provide a commit message, either close the editor tab, or select the Accept Commit Message button in the editor toolbar to commit the changes.
To cancel the commit operation, you can either clear the contents of the text editor and close the editor tab, or click the Discard Commit Message button in the editor toolbar.
You can disable this functionality by toggling the git.useEditorAsCommitInput setting. After the setting is changed, you have to restart VUEngine Studio for the change to take effect.
To use the same flow for git commit commands executed in the integrated terminal, enable the git.terminalGitEditor setting.
# Branches and Tags
You can create and checkout branches directly within VUEngine Studio through the Git: Create Branch and Git: Checkout to commands in the Command Palette Ctrl+Shift+P.
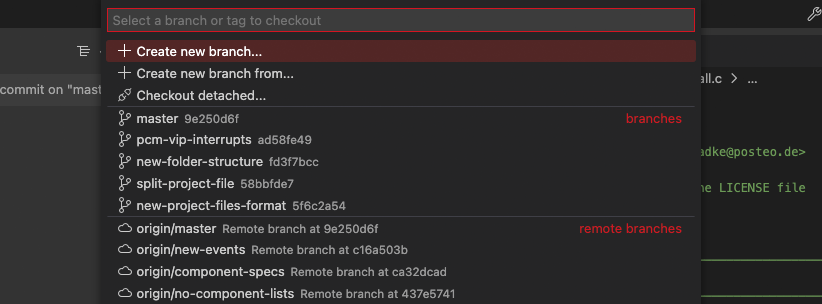
If you run Git: Checkout to, you will see a dropdown list containing all of the branches or tags in the current repository. It will also give you the option to create a new branch if you decide that’s a better option, or checkout a branch in detached mode.
The Git: Create Branch command lets you quickly create a new branch. Just provide the name of your new branch and VUEngine Studio will create the branch and switch to it. If you choose to Create new branch from…, you’ll get an extra prompt that allows you to specify which commit the new branch should be pointing to.
# Remotes
Given that your repository is connected to some remote and that your checked out branch has an upstream link to a branch in that remote, VUEngine Studio offers you useful actions to push, pull, and sync that branch (the latter will run a pull command followed by a push command). You can find these actions in the More Actions ... menu, along with the option to add or remove a remote.
VUEngine Studio is able to periodically fetch changes from your remotes. This enables VUEngine Studio to show how many changes your local repository is ahead or behind the remote. This feature is disabled by default and you can use the git.autofetch setting to enable it.
Tip: You should set up a credential helper to avoid getting asked for credentials every time VUEngine Studio talks to your Git remotes. If you don’t do this, you may want to consider disabling automatic fetching via the git.autofetch setting to reduce the number of prompts you get.
# Git Status Bar actions
There is a Synchronize Changes action in the Status Bar, next to the branch indicator, when the current checked out branch has an upstream branch configured. Synchronize Changes will pull remote changes down to your local repository and then push local commits to the upstream branch.

If there is no upstream branch configured and the Git repository has remotes set up, the Publish action is enabled. This will let you publish the current branch to a remote.

# Gutter indicators
If you open a folder that is a Git repository and begin making changes, VUEngine Studio will add useful annotations to the gutter and to the overview ruler.
- A red triangle indicates where lines have been deleted
- A green bar indicates new added lines
- A blue bar indicates modified lines
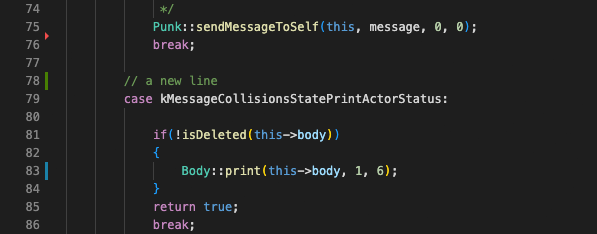
Click an indicator to open an inline diff of the change along with options to revert or stage the respective change.
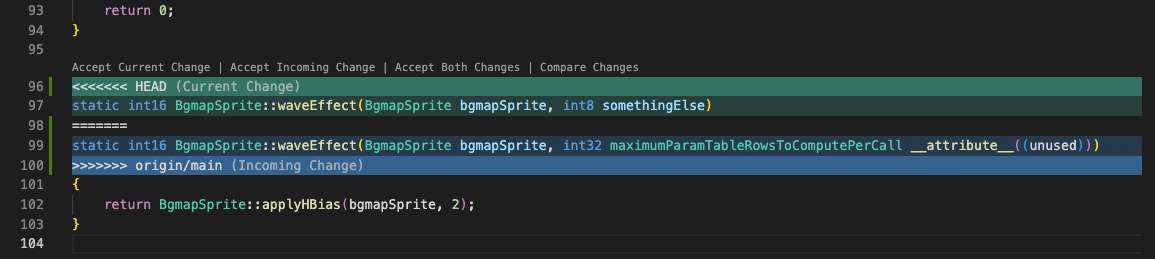
# Merge conflicts
Merge conflicts are recognized by VUEngine Studio. Differences are highlighted and there are inline actions to accept either one or both changes. Once the conflicts are resolved, stage the conflicting file so you can commit those changes.
# Timeline view
The Timeline view, accessible at the bottom of the File Explorer by default, is a unified view for visualizing time-series events (for example, Git commits) for a file.
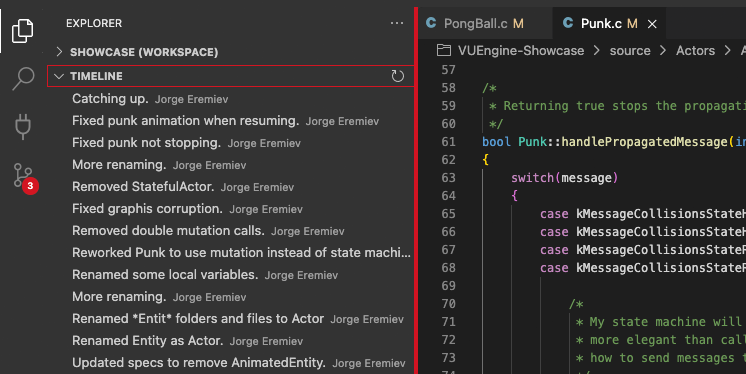
VUEngine Studio’s built-in Git support provides the Git commit history of the specified file. Selecting a commit will open a diff view of the changes introduced by that commit. When you right-click on a commit, you’ll get options to Copy Commit ID and Copy Commit Message.
# Git output window
You can always peek under the hood to see the Git commands we are using. This is helpful if something strange is happening or if you are just curious.
To open the Git output window, run View > Output and select Log (Git) from the dropdown list.
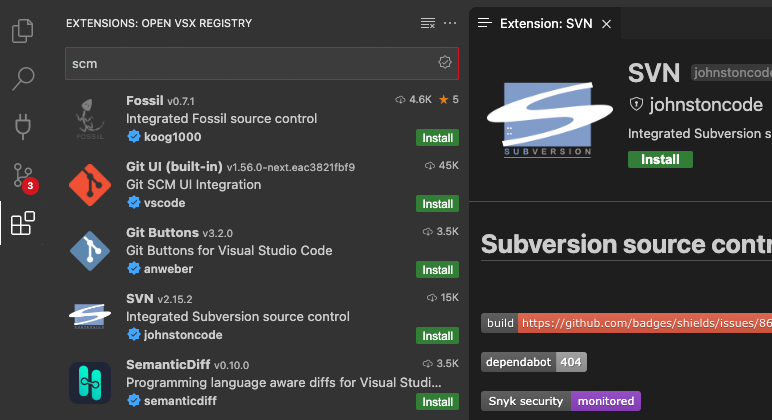
# SCM Providers
If you would like to install another SCM provider, you can search in the Extensions view Ctrl+Shift+X.