First Steps
Now that we have our project set up and confirmed that it’s building and running just fine, it’s time to dive into the code. First of all, let’s have a look at what our project currently consists of.
# Project structure
Each VUEngine based project’s files are organized in the following folders and files.
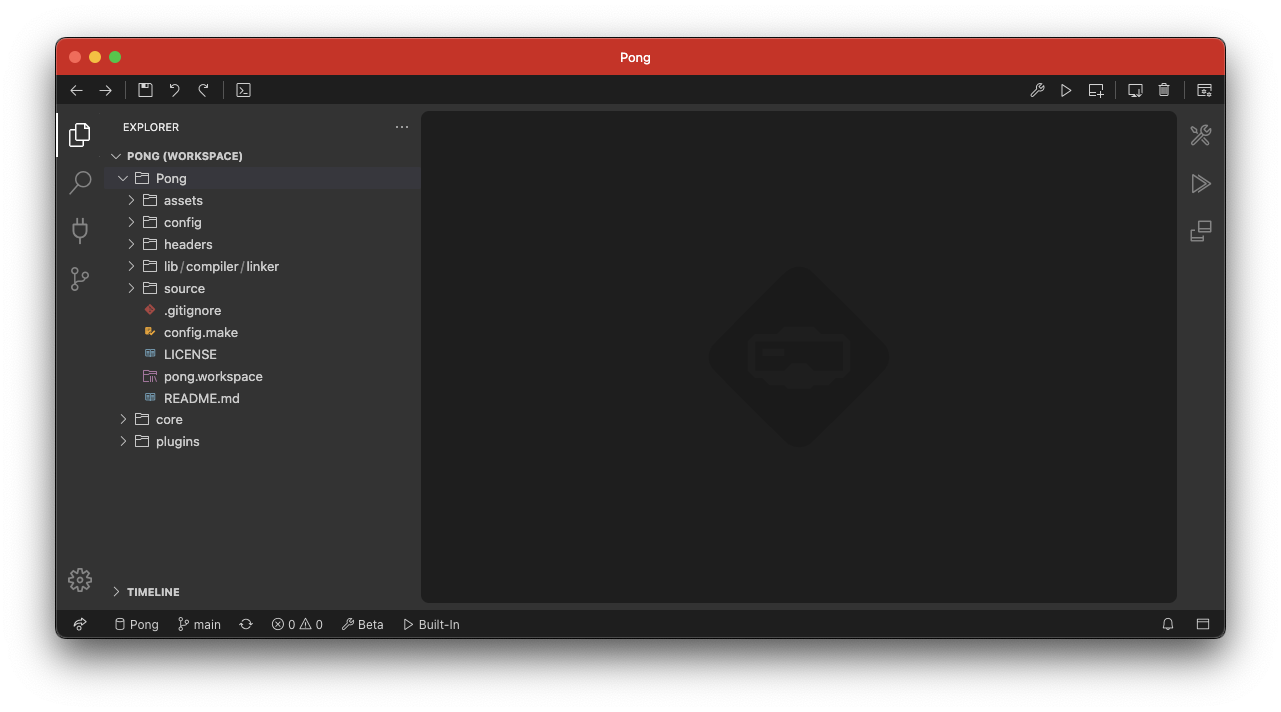
- assets: This folder holds the assets of the game, like images, sounds and stages.
- config: In this folder live various configuration files that help to customize the engine’s behavior to suit the game’s needs.
- headers: This folder contains various header files. They are mostly auto-generated by VUEngine Studio and don’t need to be touched.
- lib: Contains the files used by the linker to generate the playable ROM.
- source: The files in this folder implement the game’s logic.
- config.make: This auto-generated file holds various parameters that are required by the build chain to create the game’s ROM.
- pong.workspace: This is the project file that VUEngine Studio uses.
Of these, we will be mostly working in the assets and sources folders.
# VUEngine Plugins
When starting your game in the emulator earlier, you’ll have seen things like a precaution screen, an IPD/focus adjustment screen, etc. You might have looked through the project files, not finding any related files and wondered where those screens coming from. The answer is simple - at this point, the extent of the game’s sources is slim and most of the game’s content is contributed through plugins.
The Barebone template project includes various standard splash screens that mimick officially developed games, like adjustment and precautions screens. Those are provided as plugins that can be installed or removed through the IDE.
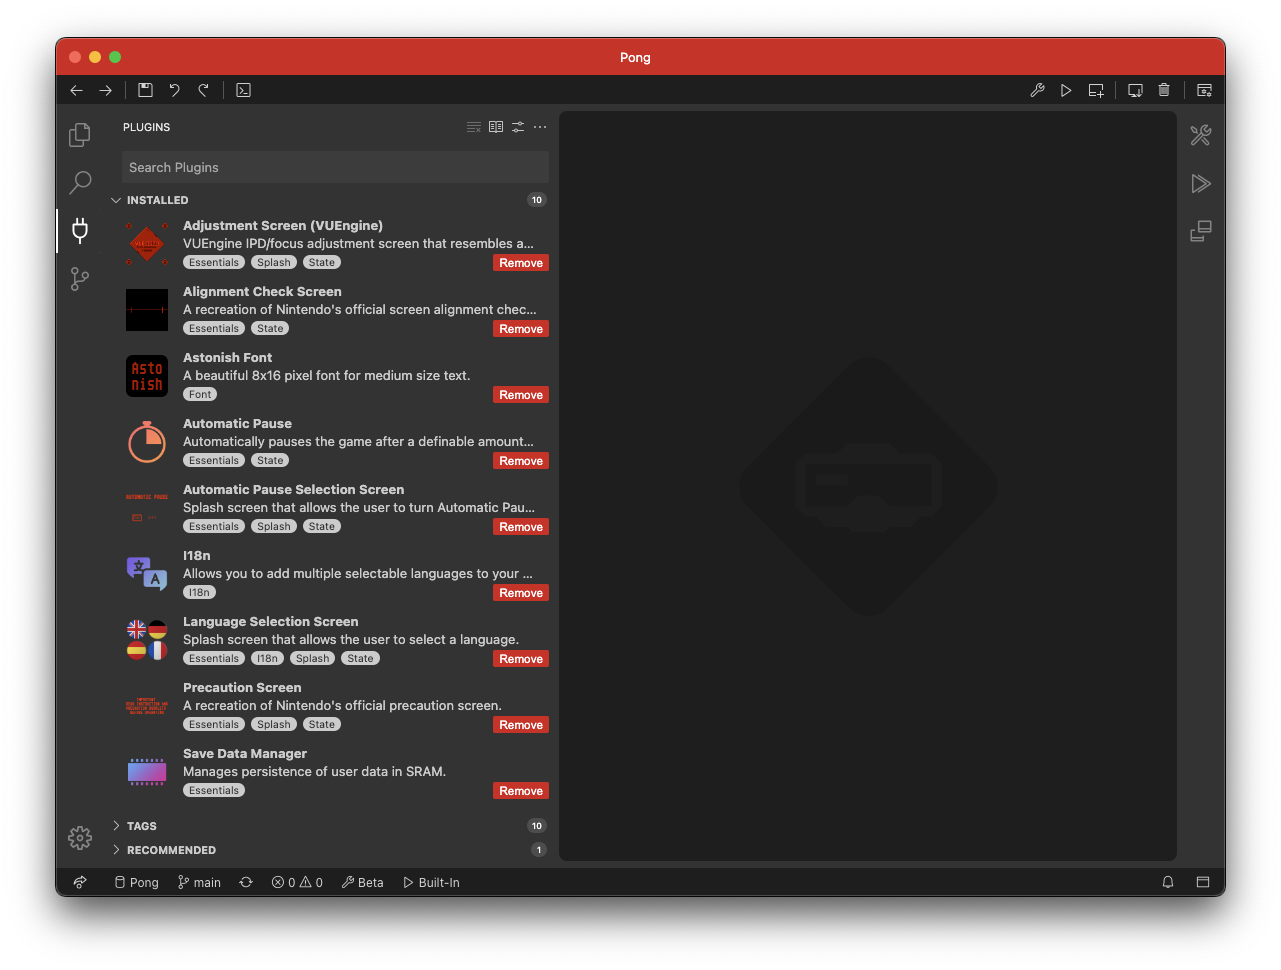
Once the plugins are installed, their usage depend on what functionality each provides. In the case of the splash screens, they are used to start the game, so, let’s see how they are used.
# The game’s entry point
In the new project’s source folder, there is a file called Game.c and inside it, you will find a function called game that returns an instance of GameState. This is where everything starts - the game’s entry point.
GameState game(void)
{
    // Initialize plugins
    AutomaticPauseManager::setActive
    (
        AutomaticPauseManager::getInstance(),
        GameSaveDataManager::getAutomaticPauseStatus(GameSaveDataManager::getInstance())
    );

    I18n::setActiveLanguage
    (
        I18n::getInstance(), GameSaveDataManager::getLanguage(GameSaveDataManager::getInstance())
    );

    SplashScreenState::setNextState
    (
        SplashScreenState::safeCast(PrecautionScreenState::getInstance()),
        GameState::safeCast(AdjustmentScreenState::getInstance())
    );

    SplashScreenState::setNextState
    (
        SplashScreenState::safeCast(AdjustmentScreenState::getInstance()),
        GameState::safeCast(AutomaticPauseSelectionScreenState::getInstance())
    );

    SplashScreenState::setNextState
    (
        SplashScreenState::safeCast(AutomaticPauseSelectionScreenState::getInstance()),
        GameState::safeCast(LanguageSelectionScreenState::getInstance())
    );

    SplashScreenState::setNextState
    (
        SplashScreenState::safeCast(LanguageSelectionScreenState::getInstance()),
        GameState::safeCast(MyGameState::getInstance())
    );

    // Return the first GameState
    return GameState::safeCast(PrecautionScreenState::getInstance());
}
Internally, the engine calls the global game function for it to return the first GameState that the engine’s StateMachine must enter into. In this case, it is the PrecautionScreenState that is returned at the end of the function.
Various other initialization steps can be performed in the game function before returning the control back to the engine. The template project already does some common tasks, like enabling the AutomaticPauseManager, that takes care of pausing the game after a fixed amount of time has passed to remind the player to rest regularly, etc.
But the more interesting part is the chaining of states that is set up and that ends with MyGameState. The PrecautionScreenState inherits from SplashScreenState, which can be configured to change the engine’s state to an arbitrary GameState. In the template project, it is set up to instruct the engine to enter the AdjustmentScreenState when it exits. The sequence will make the engine to enter the following states:
PrecautionScreenStateAdjustmentScreenStateAutomaticPauseSelectionScreenStateLanguageSelectionScreenStateMyGameState
Out of these, MyGameState is the first GameState of the game that is not contributed by a plugin and, as such, where the game’s logic actually starts.
# Taking a shortcut
During development, it makes sense to skip those splash screens and go directly to the GameState that is being implemented. This can be easily done by returning that state in the game function instead of PrecautionScreenState. Let’s change the last line of the game function to the following to boot directly to MyGameState.
return GameState::safeCast(MyGameState::getInstance());
After applying that change, once the project is rebuilt and run, the following screen will show up in the emulator right away, kindly inviting us to put our own game into place.
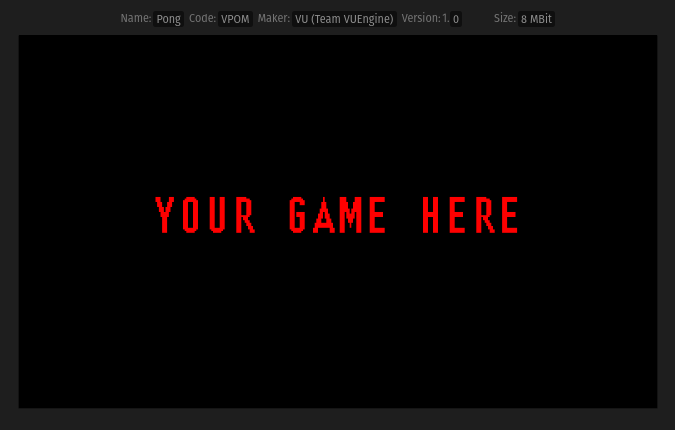
Great, we’re now ready to hit the keyboard and create our first custom GameState .