Project Setup
The very first thing to do, if you haven’t already, is to download and install VUEngine Studio.
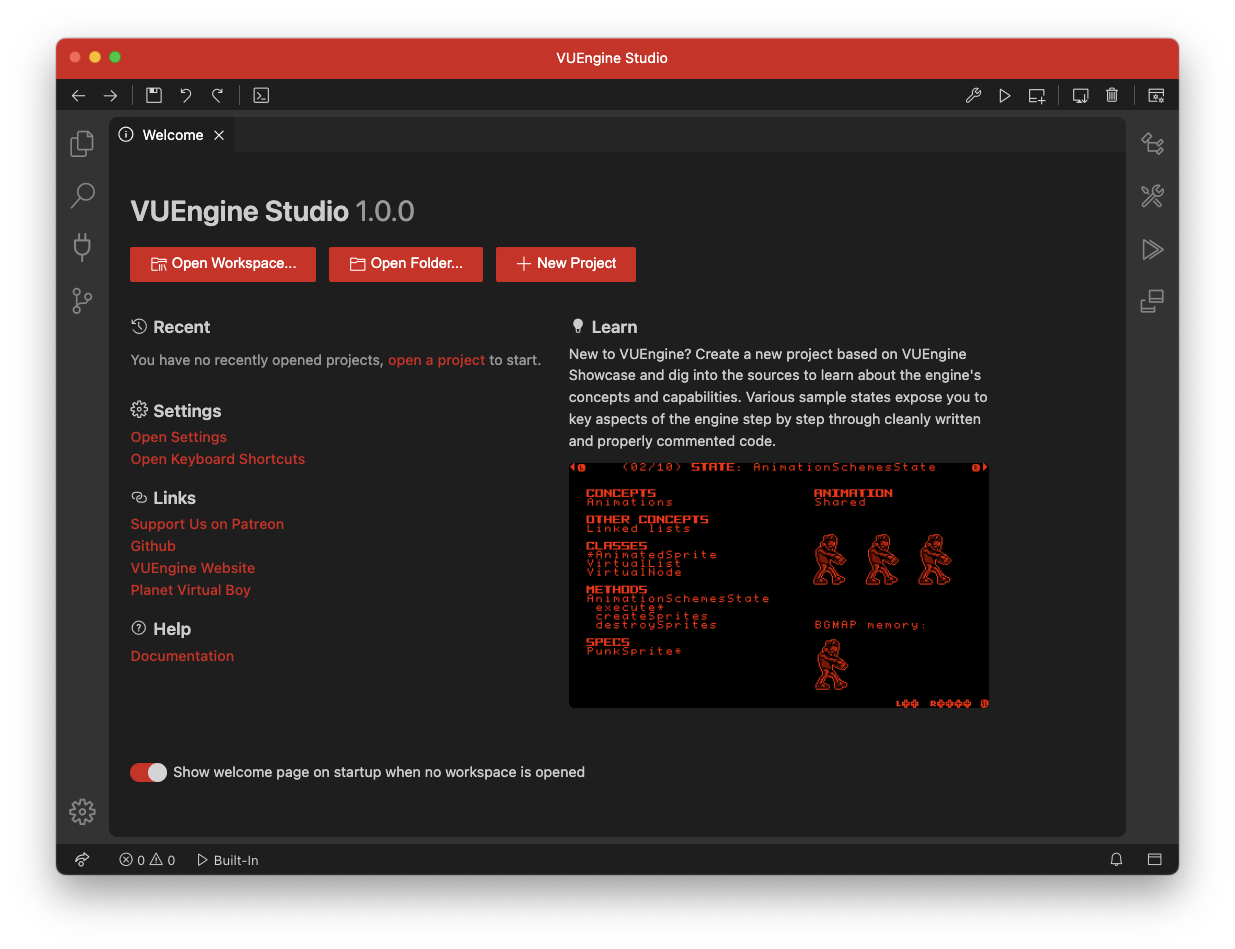
Launch VUEngine Studio and you will be greeted with the Welcome view when starting it for the first time (or whenever you don’t currently have any project loaded).
# Create the Project
Click the New Project button to bring up the Create New Project dialog. Alternatively, you can bring it up through the main menu with Help > Welcome or through the command palette Ctrl+P, choosing the Welcome command.
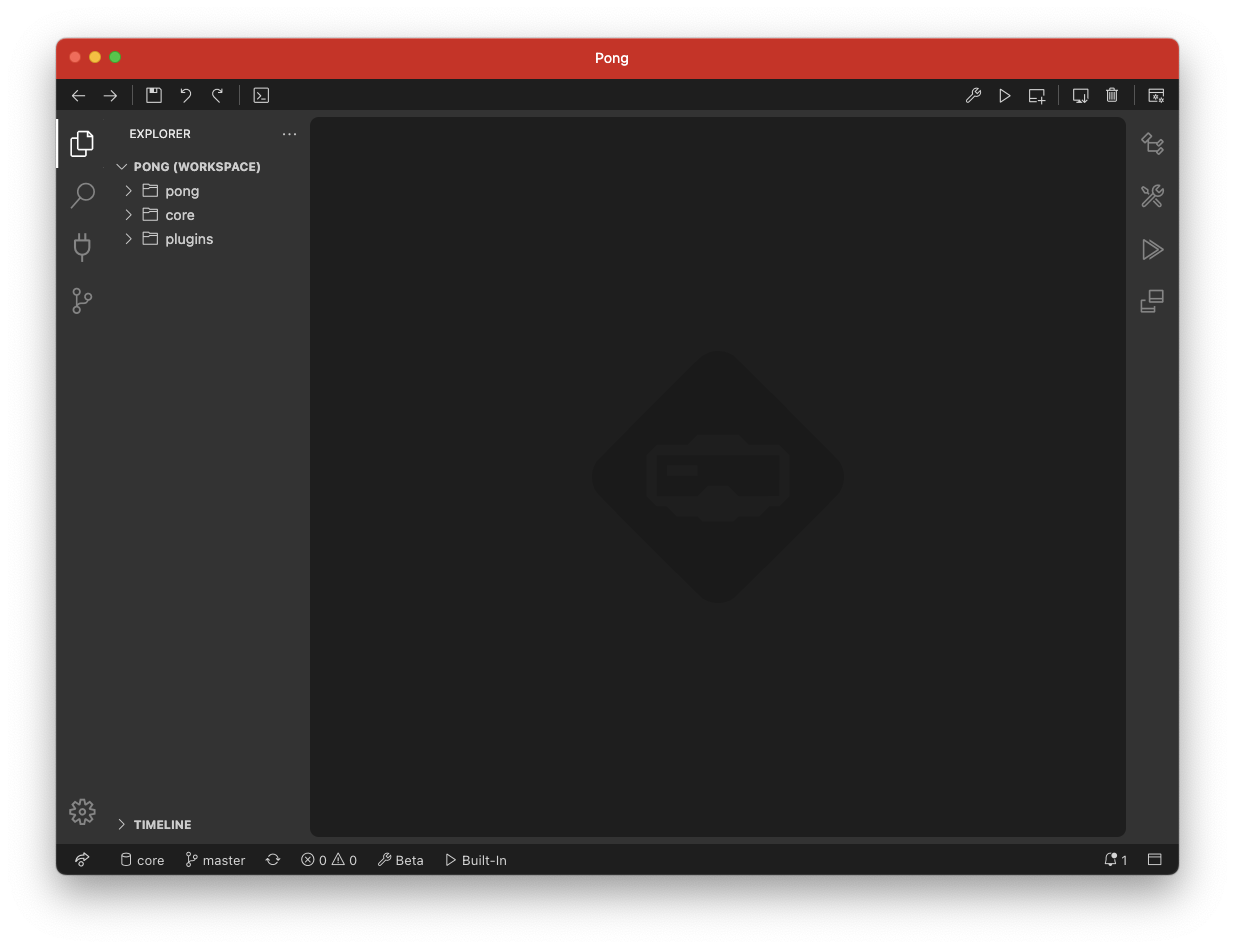
In the Create New Project dialog, give the project a name, we will call it just “Pong”. Enter your name as the author, and select the Barebone template to start off with a minimal boilerplate project.

Finally, click the Create button and VUEngine Studio will create and open the project. Once your project has loaded, the File Explorer will be open. The pong folder contains your project’s files. The others, core and plugins are handy shortcuts to the (readonly) VUEngine Core and VUEngine Plugins sources that ship with VUEngine Studio.
# First Build & Run
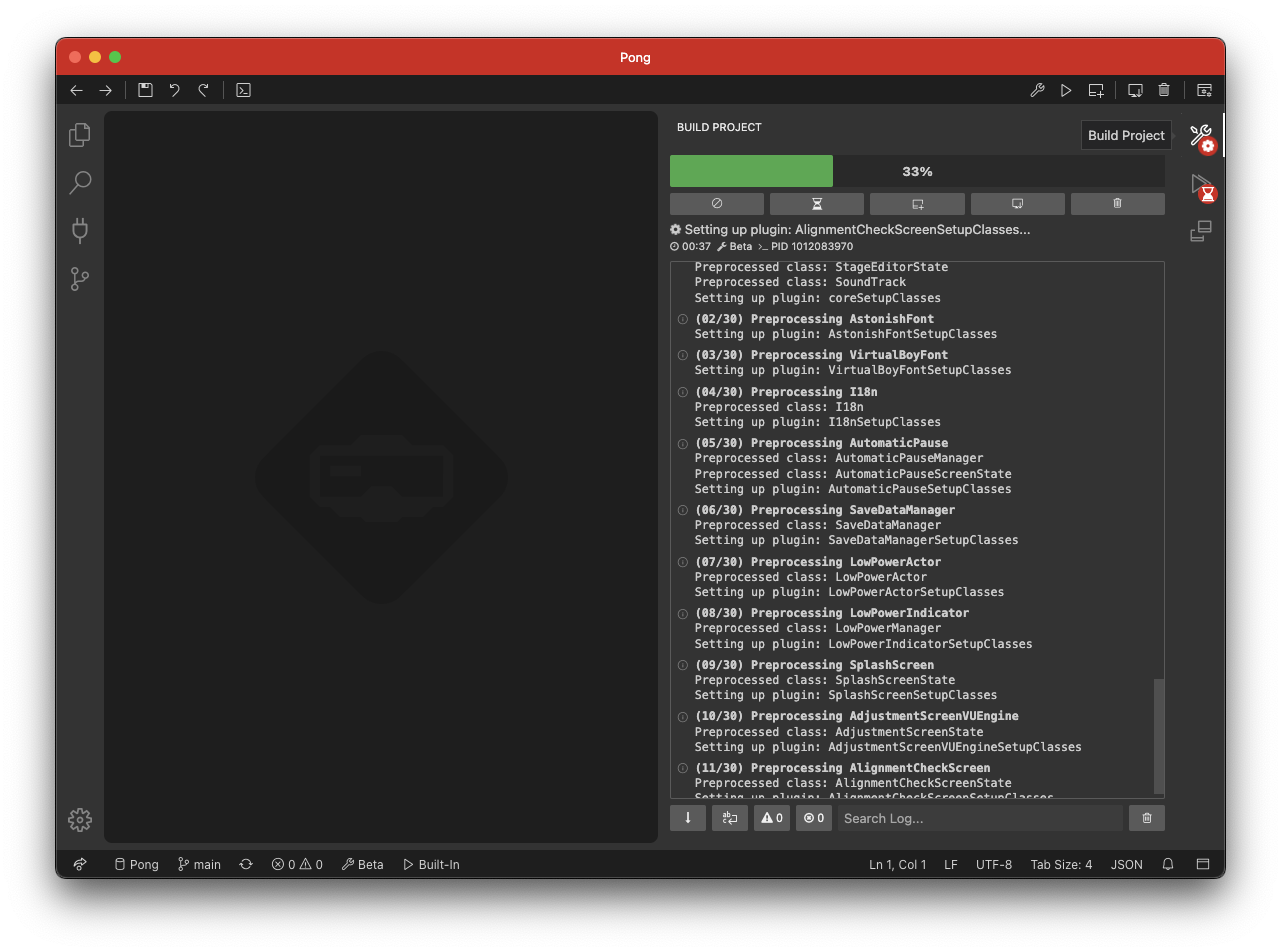
Let’s build and run our new project for the first time, before we head on to make any modifications, to be sure things are working fine so far. In the toolbar, on the top right of the IDE, click the Build button. Then click the Run button right next to it to schedule the game to be started in the built-in emulator once the build is done.
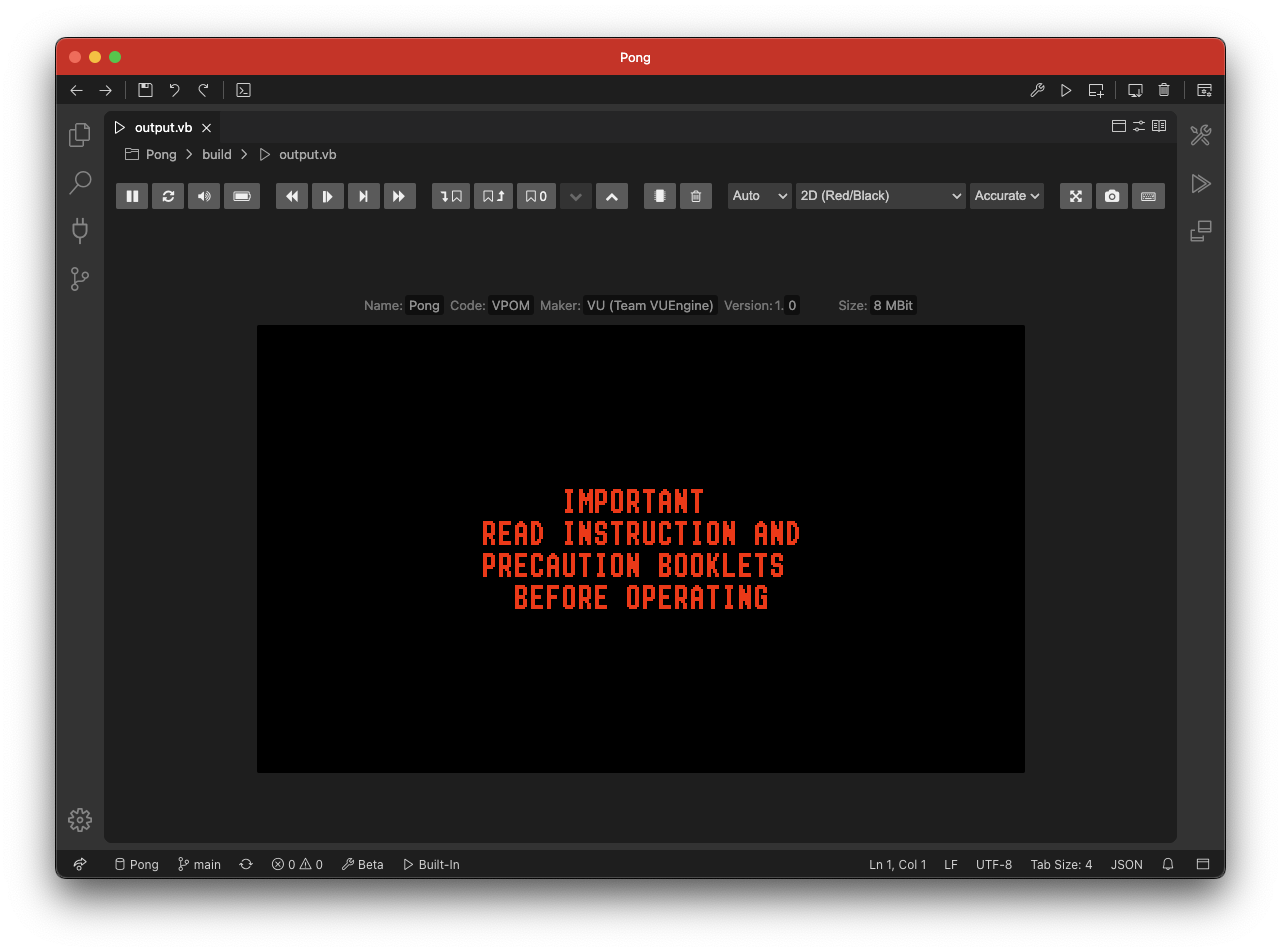
If everything goes well, you will eventually be greeted by the screen on the right.
Now that we have set up our project and confirmed that it’s building just fine, we are ready to start diving into the code .